
OneDrive isn't just for storing documents. You can also upload other files, like photos, videos, and music. In total, OneDrive gives you 5GB of free space to store files of all types.
In this lesson, you will learn how to upload and sync files from your computer to OneDrive. You'll also learn how to move files from one folder to another. Finally, you'll learn about additional file options, including special options for managing photos.
Watch the video below to learn more about uploading and syncing files in OneDrive.
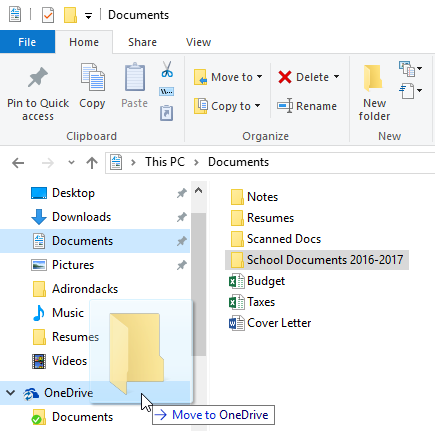
The OneDrive desktop application makes it easy to upload and sync files across all of your devices. If you have Windows 8.1 or 10, the OneDrive app is already built in. If you're using an earlier version of Windows, review our lesson on Getting Started with OneDrive to learn how to install the app (if you haven't already). The OneDrive desktop application works like any other folder on your computer. Whenever you move a file to the OneDrive folder, that file is moved online to the cloud, allowing you to access the same version of that file from any computer connected to the Internet.
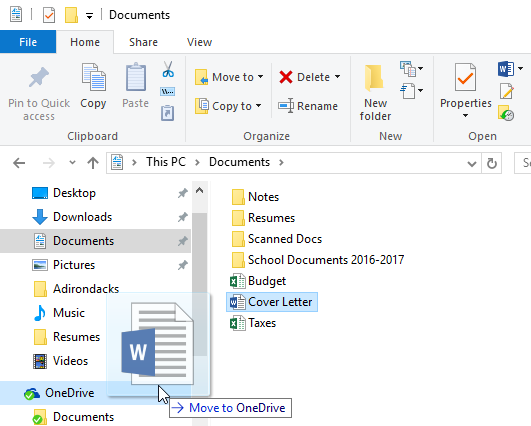
Uploading individual files can be time consuming. Fortunately, you can move entire folders to OneDrive. Whenever you upload a folder, the folder and every file stored within it will be uploaded to your OneDrive.
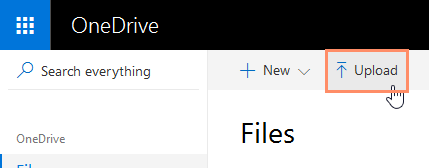
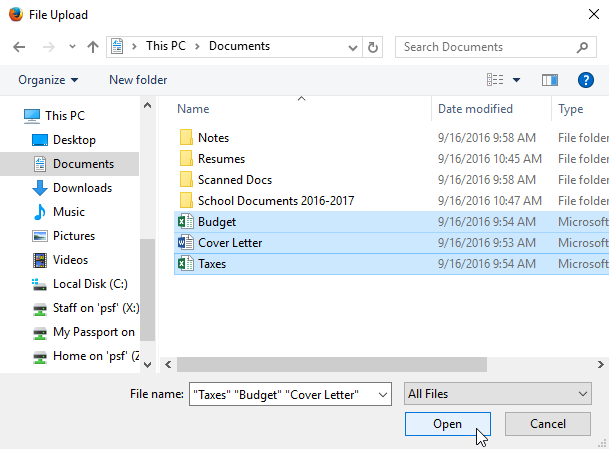
If you don't have access to the OneDrive desktop application, you can upload files using the web uploader. The process takes a little more time than uploading files with the OneDrive application, but it's still an easy way to upload files from anywhere.
After you've been using OneDrive for a while, you might find yourself having a difficult time keeping track of all of your files. Fortunately, OneDrive offers several features to help you manage and organize them.
Watch the video below to learn more about managing your files in OneDrive.
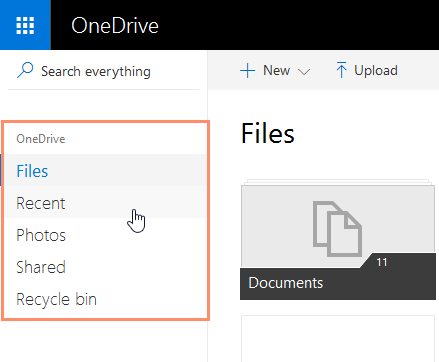
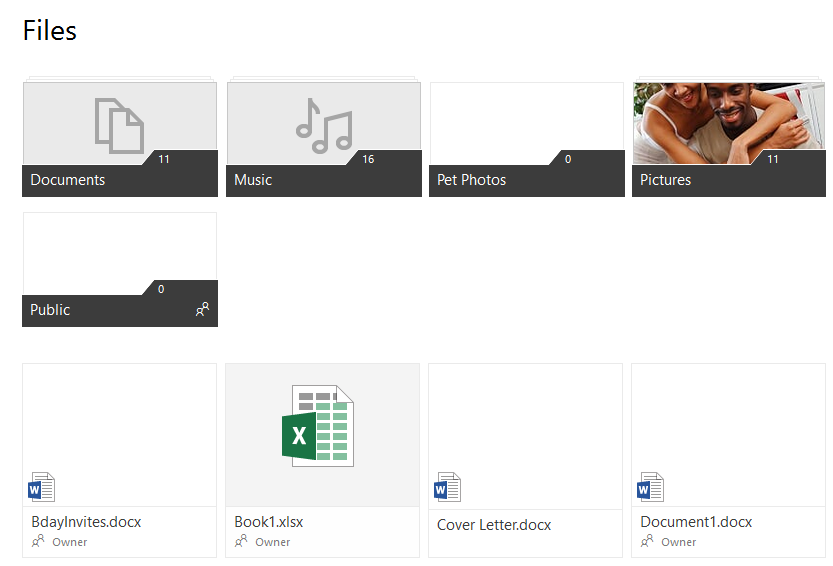
When you navigate to the OneDrive main page, you'll see all of your files and folders. You can choose which files to view by selecting various options in the left navigation pane.
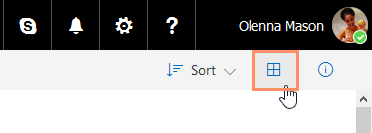
You can also change how your files are displayed by clicking the View Options icon.
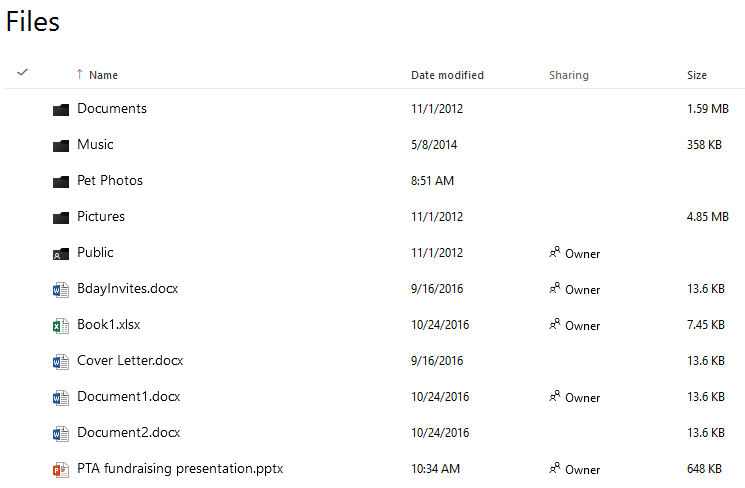

You can find documents by using the search feature. Searching lets you look for a specific document using words contained within the document and its title.

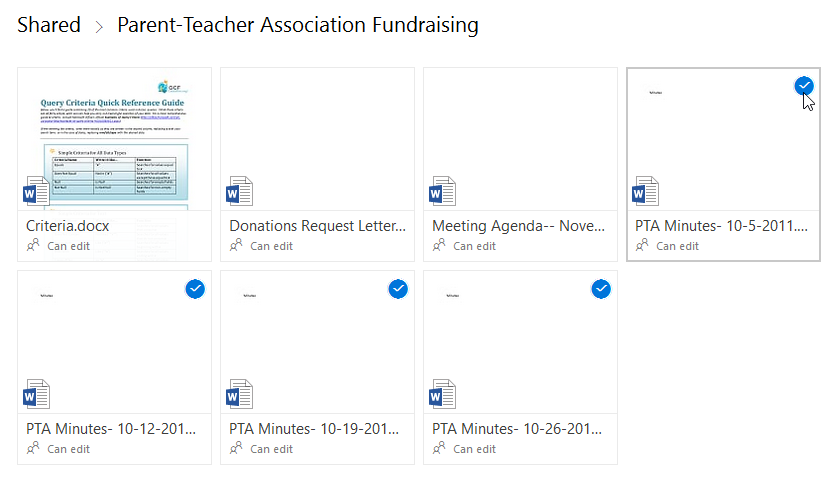
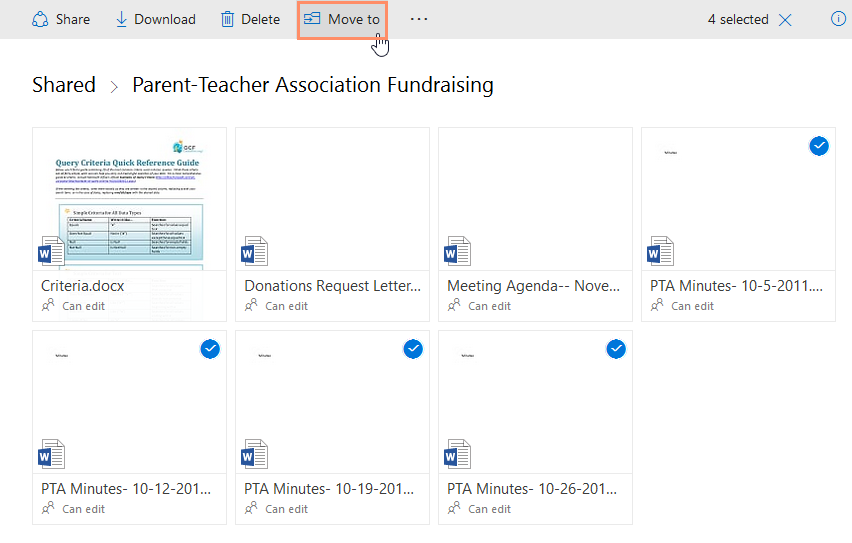
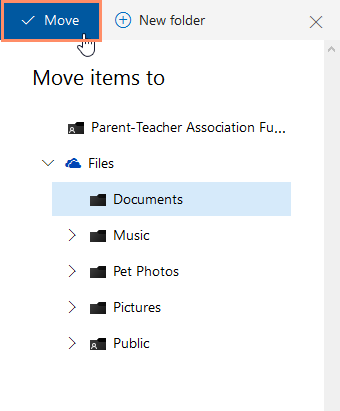
You can use folders to organize your files. Documents can be stored in folders and moved from one folder to another. Moving documents can be useful because you can share a document simply by moving it to a shared folder. For example, if you're working on a project with a group of people, you can share a folder with them. Then you can move any files you want to share with the group to that folder.
To learn more about creating and sharing folders, review our lesson on how to Create and Share Office Documents.
To access additional file management options, right-click the file.
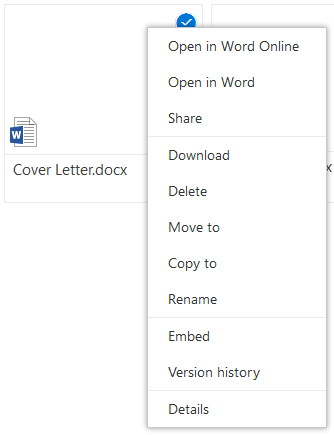
These options include: